Article Number: DH3-035
Last Updated: November 12th, 2024
Overview
Live Stream and Scene Editor enables users to broadcast content, customized with visual on-screen elements, directly over popular streaming services. These features are available with the full installation of AMD Software: Adrenalin Edition. For more information about requirements and supported configurations, refer to the FAQs on this page
Note: The steps outlined in this article are based on AMD Software: Adrenalin Edition 23.9.1 (Full Install) with an AMD Radeon™ RX 7900 XTX and the screenshots used are for illustrative purposes only. Depending on your system configuration, some options and settings may not be available to you or exactly as shown in the examples provided.
Setup Wizard
Use the setup wizard to quickly configure common settings for broadcasting content online.
To launch the setup wizard in AMD Software: Adrenalin Edition, follow these steps:
- From the Taskbar, click on Start (Windows icon), type AMD Software, and select the app under best match.
In AMD Software, enter "Record" into the search box (highlighted below), and click on the "Record & Stream Settings" result displayed.

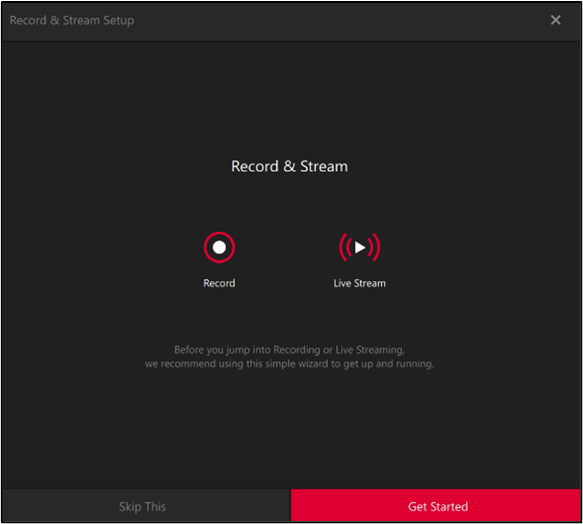
- Select Live Streaming and click Next.
- Select the default microphone and camera device (if available) to use during recording or live streaming. Adjust the Microphone Level and Push to Talk options, if desired. You may also set the Use Chroma Key and Chroma Color options here or click Next to keep the default settings.
- Pick the streaming service of choice and enter your account credentials when prompted, click Skip This to add an account later.
- Choose your preferred setting for Streaming Quality and Record Desktop. You may click Next to keep the default settings or Skip This to adjust them later.
- Click Finish to accept these settings.
- Once complete, the wizard will exit to the Live Stream screen.
- To run the setup wizard again (optional), from the Live Stream screen click the Wand icon as shown in the example below.

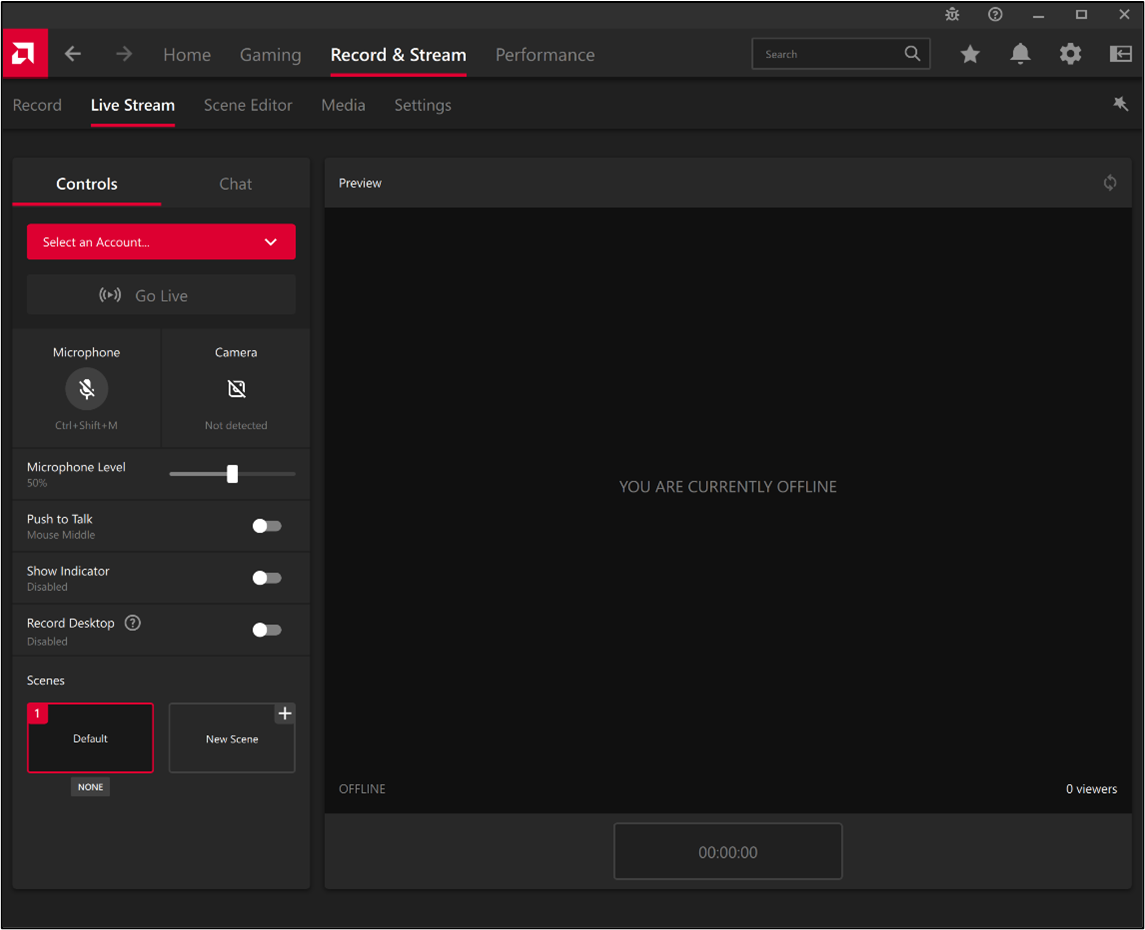
- Common settings available for Live Stream are explained below.
- Select an Account - Connect to your choice of available online streaming platforms by signing in with your account credentials. Choose from Facebook, Twitch, YouTube, and others or select Custom Stream to enter Custom Stream URL and Custom Stream Key details.
- Go Live - Starts streaming content online to the connected platform. Internet connection is required.
- Microphone - If a microphone is set up, this toggles the device on/off.
- Camera – If a camera is set up, this toggles the device on/off.
- Microphone Level (%) - Set the preferred microphone recording volume.
- Push to Talk - When enabled, microphone audio can be toggled on/off with the middle mouse button.
- Show Indicator - When enabled, an indicator will appear on-screen when streaming.
- Record Desktop - When enabled, allows your desktop to be recorded. Note: OpenGL applications may be recorded using the Record Desktop feature when running in Windowed mode only.
- Scenes - Select from available scenes to use on your stream. Scenes are covered in the Scene Editor section of this article.
- Chat - Displays chat from viewers connected to your live stream session.
- Settings - Opens Advanced Live Stream settings for all Record & Live Stream features.
- Advanced settings for Live Stream are explained below.
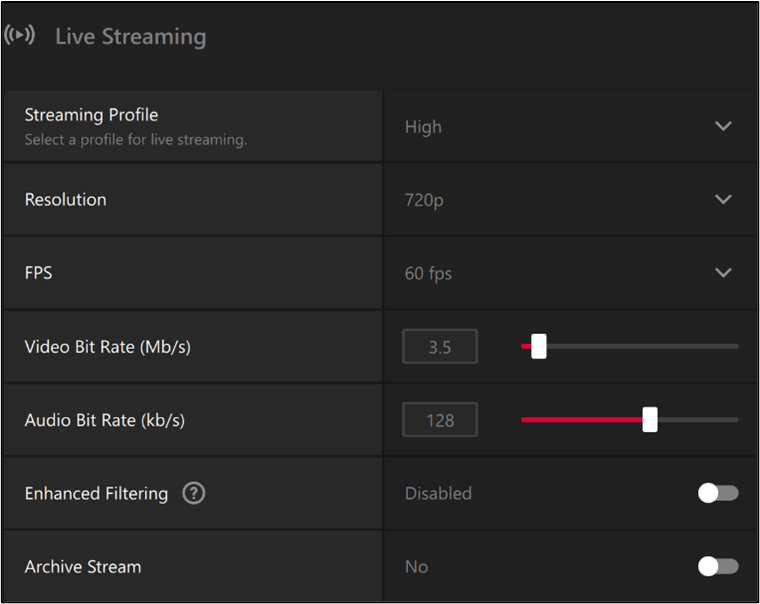
- Streaming Profile - Streaming presets for Resolution, FPS, Video Bit Rate (Mb/s), and Audio Bit Rate (kb/s). Choose Low, Medium, High, Ultra, Custom or Adaptive.
- Resolution - Select the output video resolution for your stream (broadcast). Choose 360p, 480p, 720p, 900p, 1080p, 1440p, or 2160p.
- FPS - Select the frames per second to be used for video streaming. Choose 30 fps or 60 fps.
- Video Bit Rate (Mb/s) - Adjust the video bit rate to be used for streaming. Higher bit rates provide better video quality.
- Audio Bit Rate(kb/s) - Adjust the audio bit rate to be used for streaming. Higher bit rates provide better audio quality.
- Enhanced Filtering – When enabled, improves AVC encoding quality under certain scenarios but may have an impact on gaming performance.
- Archive Stream – Choose Yes to save live streams to the default location <drive>: \Users\username\Videos\Radeon ReLive.
- To select another folder location, use the Media save location option below.

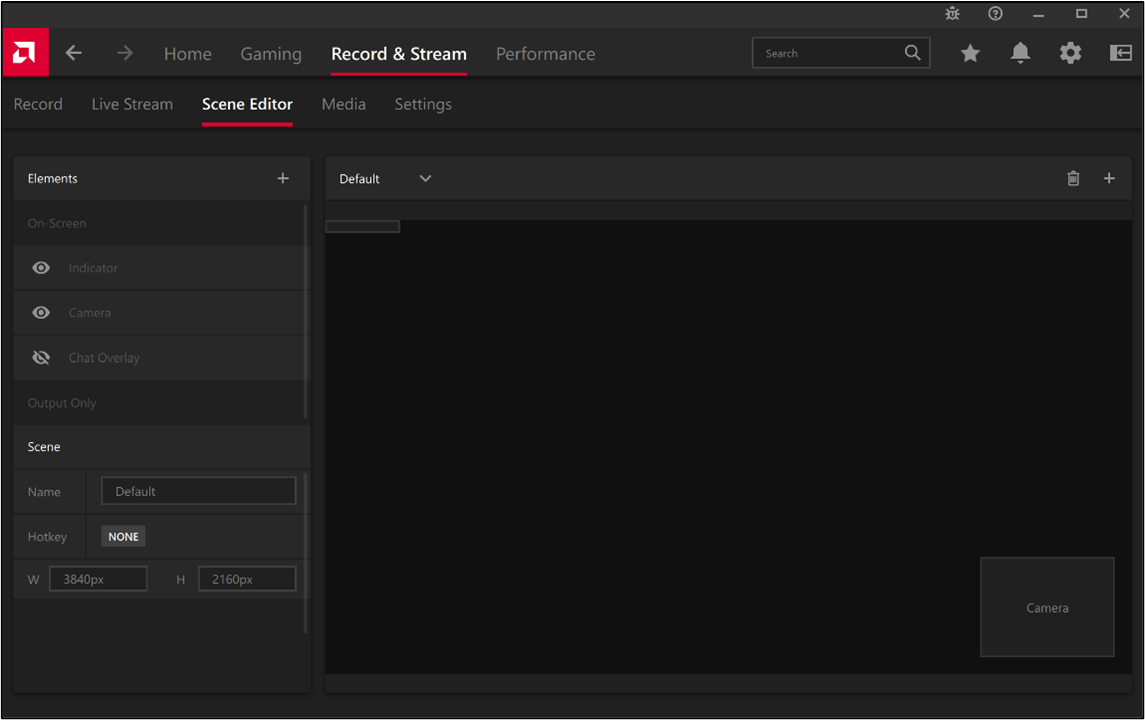
- Available settings for Scene Editor are explained below:
- Elements - Click on the (+) symbol which is in the upper right-hand corner and select elements to add to the scene. Choose from Browser Source, Image, GIF and Video. A scene can have multiple elements and of the same type. Each element can be customized using the available options under Properties when selected.
- Indicator - Displays an on-screen indictor showing the status of the live stream and duration. Click on the Eye icon for Indictor to toggle it on/off. Under Properties, select the desired location and enable/disable Time (duration of stream).
- Camera - Displays the camera feed to the scene. Click on the Eye icon for Camera to toggle it on/off. Under Properties, specify the desired location, dimension, position and opacity of the camera feed. The camera location and dimension can also be adjusted with your mouse by moving and expanding the on-screen object when displayed on the scene. Other camera settings include:
o Show on Screen - Choose whether the camera feed is visible to you or in-video only.
o Use Chroma Key – Apply a color to the background of the camera feed. When enabled, select from the available color presets and strength (transparency) levels, or specify a custom color, if desired.
- Chat Overlay - Overlay the streaming service chat on the scene. Click on the Eye icon for Chat Overlay to toggle it on/off. Under Properties, specify the location, dimension and font size. The chat overlay location and dimension can also be adjusted with your mouse by moving and expanding the on-screen object when displayed on the scene.
o Name – Specify a name for the scene.
o Hotkey – Customize a hotkey to toggle the scene on or off.
o W & H – Customize the width and height of the scene in px.
- To create a new scene, click on the (+) symbol located in the upper right-hand corner. Existing scenes can be selected from the drop-down menu. The selected scene can be customized or deleted by clicking on the Trash icon located in the upper right-hand corner beside the (+) symbol.
Hotkeys
Some Live Stream and Scene Editor settings can be toggled with hotkeys. To see a list of configurable hotkeys in AMD Software: Adrenalin Edition, follow these steps:
- Click on Settings (Gear icon) then select Hotkeys from the sub-menu. Default hotkeys for Live Stream and Scene Editor are shown in the example below.

- Click the hotkey tile next to any option to change or assign hotkeys.
- Press the desired key or combination of keys to be used. Some hotkeys require the use of CTRL and/or ALT keys. If accepted, the new hotkey(s) will be saved automatically. To unbind the hotkey, press Delete on the keyboard.
- To reset all hotkeys to defaults, click the Reset icon located in the upper right-hand corner.

© 2024 Advanced Micro Devices, Inc. The information contained herein is for informational purposes only and is subject to change without notice. While every precaution has been taken in the preparation of this document, it may contain technical inaccuracies, omissions and typographical errors, and AMD is under no obligation to update or otherwise correct this information. Advanced Micro Devices, Inc. makes no representations or warranties with respect to the accuracy or completeness of the contents of this document and assumes no liability of any kind, including the implied warranties of non-infringement, merchantability or fitness for particular purposes, with respect to the operation or use of AMD hardware, software or other products described herein. No license, including implied or arising by estoppel, to any intellectual property rights is granted by this document. Terms and limitations applicable to the purchase or use of AMD's products are as set forth in a signed agreement between the parties.