Article Number: GPU-58
This article provides instructions on how to remove a graphics card to upgrade or replace the existing one.
NOTE: If you cannot perform the steps below and need assistance, please contact a certified technician.
Instructions
Steps to Follow Before Removing the Graphics Card.
- Start the computer and remove any existing graphics drivers/software to avoid potential conflicts when installing the new graphics card (refer to article Uninstall AMD Software).
Note: If the graphics card or onboard graphics was manufactured by a company other than AMD, contact the manufacturer for specific instructions on removing the graphics drivers. - Turn off the computer and all attached devices.
- Wait 20 seconds before disconnecting all cables from the back of the computer (power supply cord, audio/ display cables, etc.) to avoid possible damage to the computer.
- Remove the case cover. System builders have specific methods on removing the case cover; please refer to the manual for instructions.
Removing the Graphics Card
- Static electricity can damage computer components. Before handling any system components, be sure to discharge all static electricity by wearing an antistatic wrist strap connected to a grounded object. An inexpensive antistatic paper wrist strap can be purchased from local computer shops.

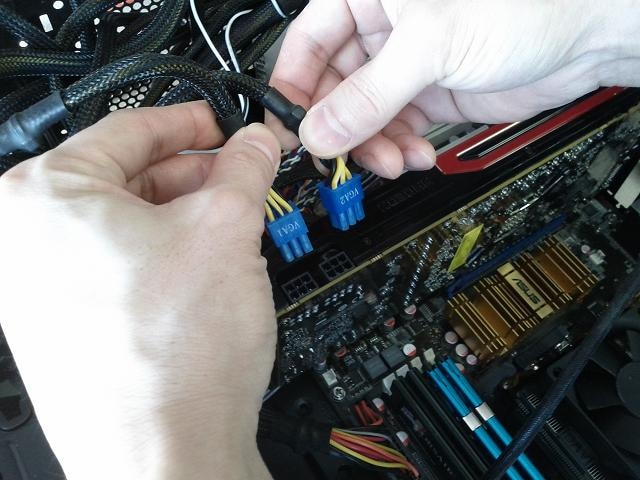
- Disconnect all internal cables connected to the graphics hardware (i.e. dedicated power connections, if applicable).
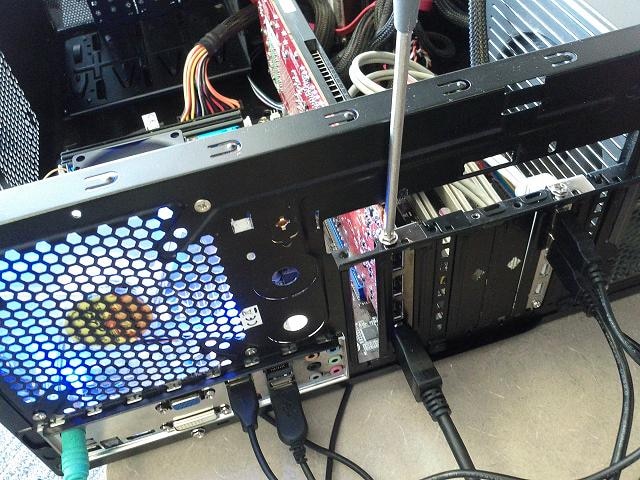
- Locate and unscrew/unclip the graphics card from the case’s mounting bracket.
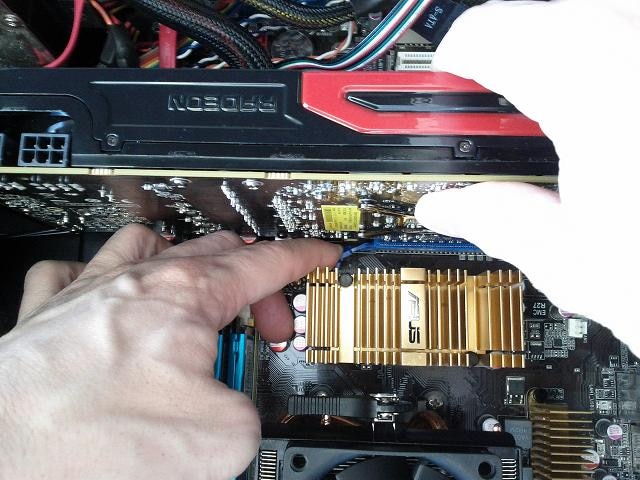
- Gently pull on the expansion slot lever to unlock the card from the slot.
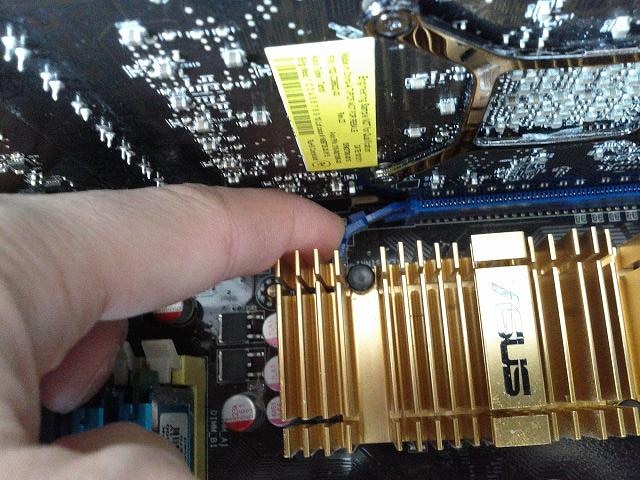
- Slide the card out of the graphics slot, and remove it from the computer.
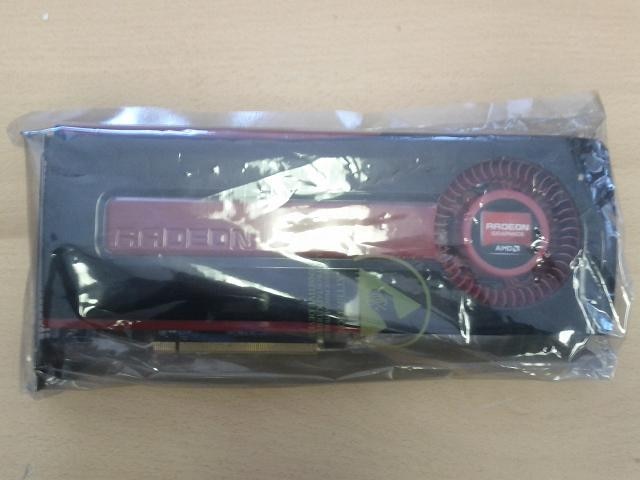
- Place graphics card in an antistatic bag.